How to Convert JPG to WebP Online (Free, Private)
Step-by-step guide to converting JPG photos to WebP in your browser, choosing a quality setting, checking the result and using the files on your website.
By FreeToolsHub Editorial TeamPublished4 min read
Converting a JPG to WebP is one of the quickest ways to make a web page lighter. This guide walks through the process step by step, explains which quality setting to choose and covers what to do with the finished files.
Before you start
Make sure WebP is a good fit for where the image will be used. It works in all current major browsers, so it is ideal for website images. It is not always accepted by older software or by forms that ask specifically for JPG. If you are not sure what WebP is, read what is the WebP image format first.
Also remember that both JPG and WebP are lossy formats. Converting a JPG that has already been compressed means compressing it a second time, so start from the best-quality original you have whenever possible, and keep that original.
Convert a JPG to WebP in your browser
- Open the JPG to WebP converter.
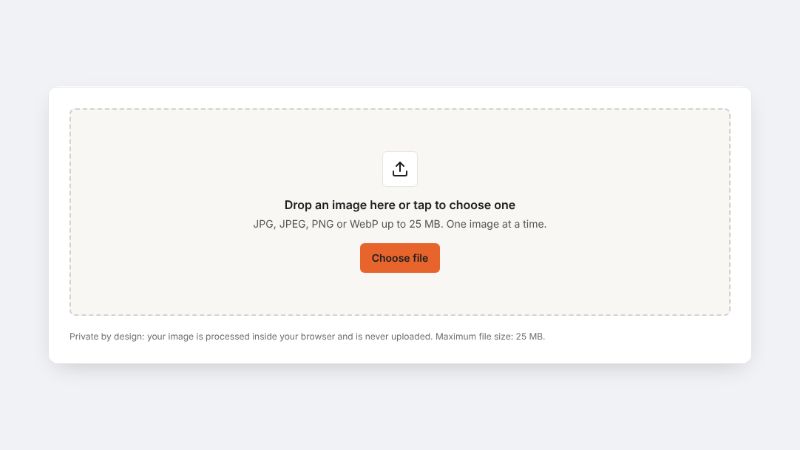
- Drag your JPG or JPEG file onto the upload box, or tap it to choose a file from your phone or computer.
- Wait a moment. The converted image appears next to the original, along with both file sizes.
- Adjust the Quality slider if you want to change the balance between size and detail. The default of 80 percent suits most photographs.
- Press Download WebP to save the file.
Your photo is processed by your own browser using built-in image tools. It is never uploaded to a server, which makes the process fast and private.
Choosing a quality setting
| Quality | Typical result |
|---|---|
| 90 to 100 | Very high detail, larger files. Useful for important images you will edit again. |
| 75 to 85 | A good balance for most photographs on the web. |
| 60 to 70 | Noticeably smaller; fine for thumbnails and backgrounds. |
Zoom into the preview before you decide. Look at sharp edges, text and smooth areas like skies, because that is where over-compression shows first.
Check the result
Compare the two file sizes the tool displays. Usually the WebP is smaller. If it is larger, the JPG was probably already compressed very hard. Try a lower quality, or simply keep the JPG. The tool tells you when the new file is not smaller, so you never have to guess.
If the dimensions of the picture are far larger than the space it will fill, resize it first with the Image Compressor, then convert. Fewer pixels always means a smaller file.
Using your WebP files on a website
Upload the WebP file the way you would any other image. If your platform accepts WebP, that is all you need to do. If you manage your own HTML and want a fallback for old browsers, use the picture element:
<picture>
  <source srcset="banner.webp" type="image/webp">
  <img src="banner.jpg" alt="Describe the image" width="1200" height="600">
</picture>
Always include a meaningful alt description and set width and height so the page does not jump around while images load.
Converting many images
The online converter handles one image at a time, which is perfect for a handful of files. For hundreds of images, developers often use command-line tools such as Google's cwebp, or an image optimisation feature in their website platform, so conversions happen automatically when files are uploaded.
Common problems
- The WebP looks softer. Raise the quality, or start from a higher-quality original.
- The file is bigger than the JPG. Lower the quality or keep the JPG.
- A program will not open the WebP. That program may not support WebP yet. Keep a JPG copy for it.
- The camera information is gone. Metadata such as the camera model and GPS location is not copied when the browser creates a new image. This can be a privacy benefit, but keep your original if you need it.
For a broader look at which format to use for which job, see JPG vs PNG vs WebP.